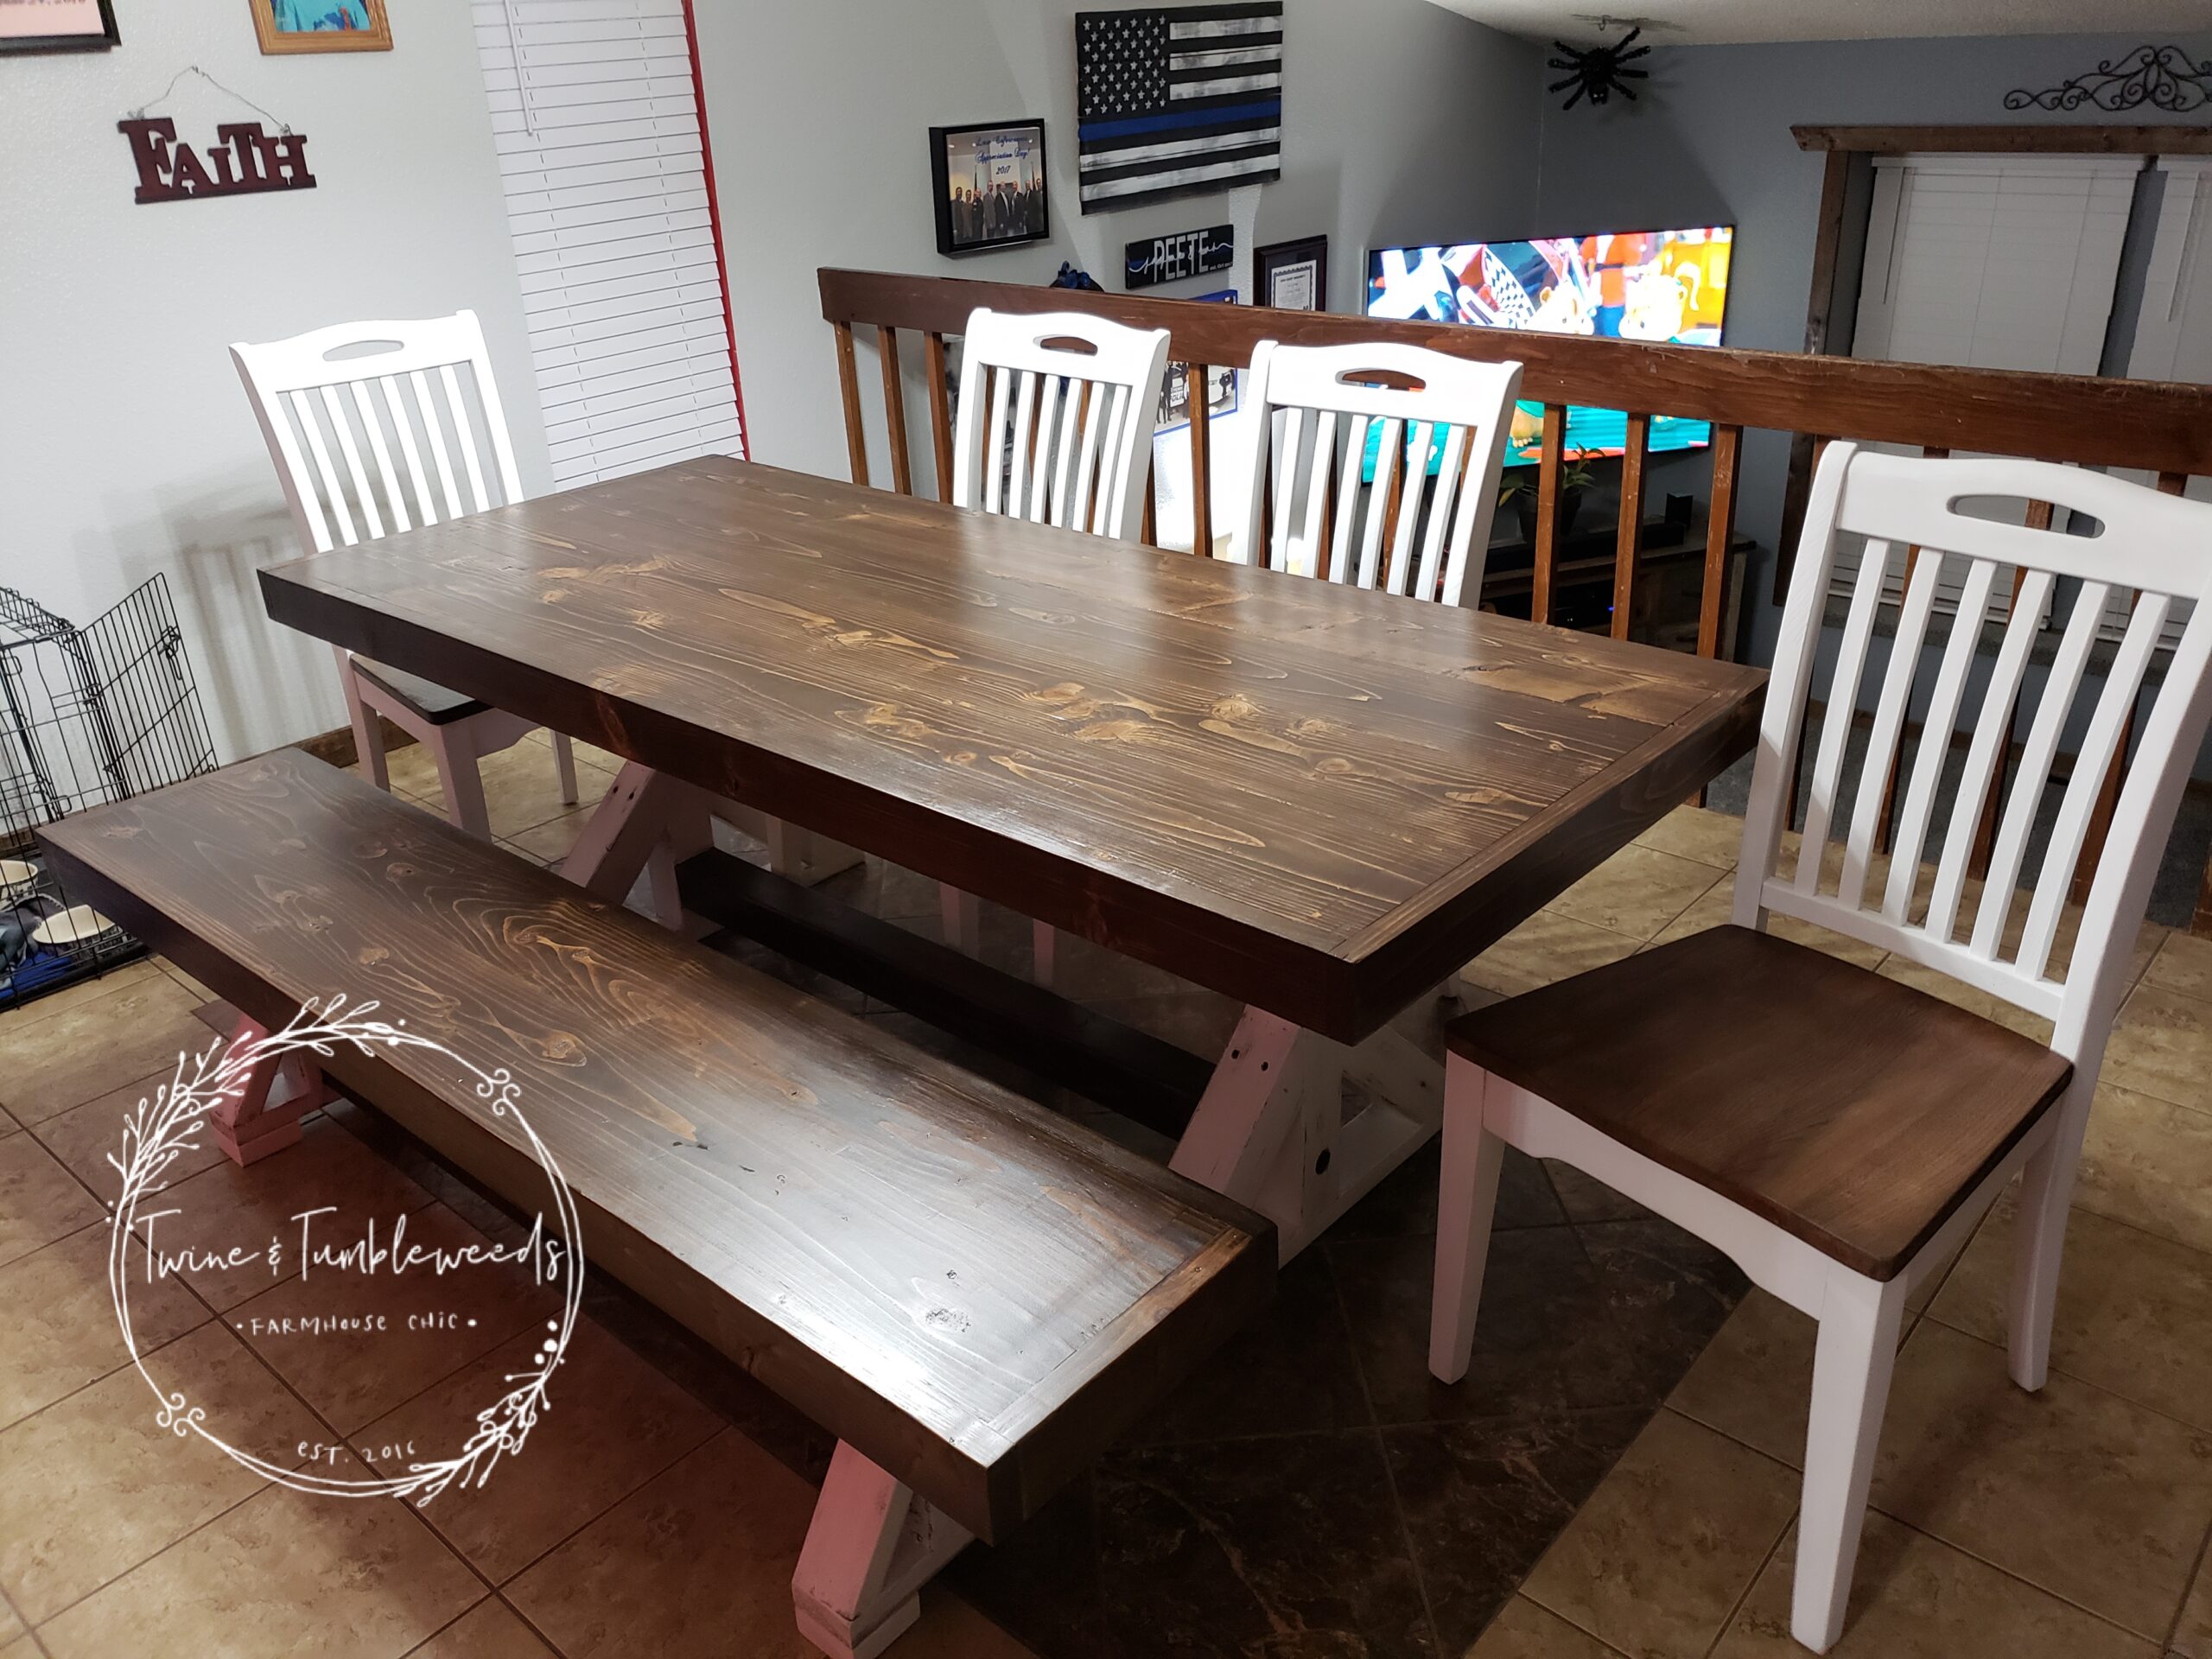
Good Day All!, Handy Hubs here to talk about an awesome custom order we completed this month. Our good friend’s, the Peete’s commissioned us to build them a 7ft long farmhouse table and matching bench for their family. We have been wanting to build one so this came at a great time.
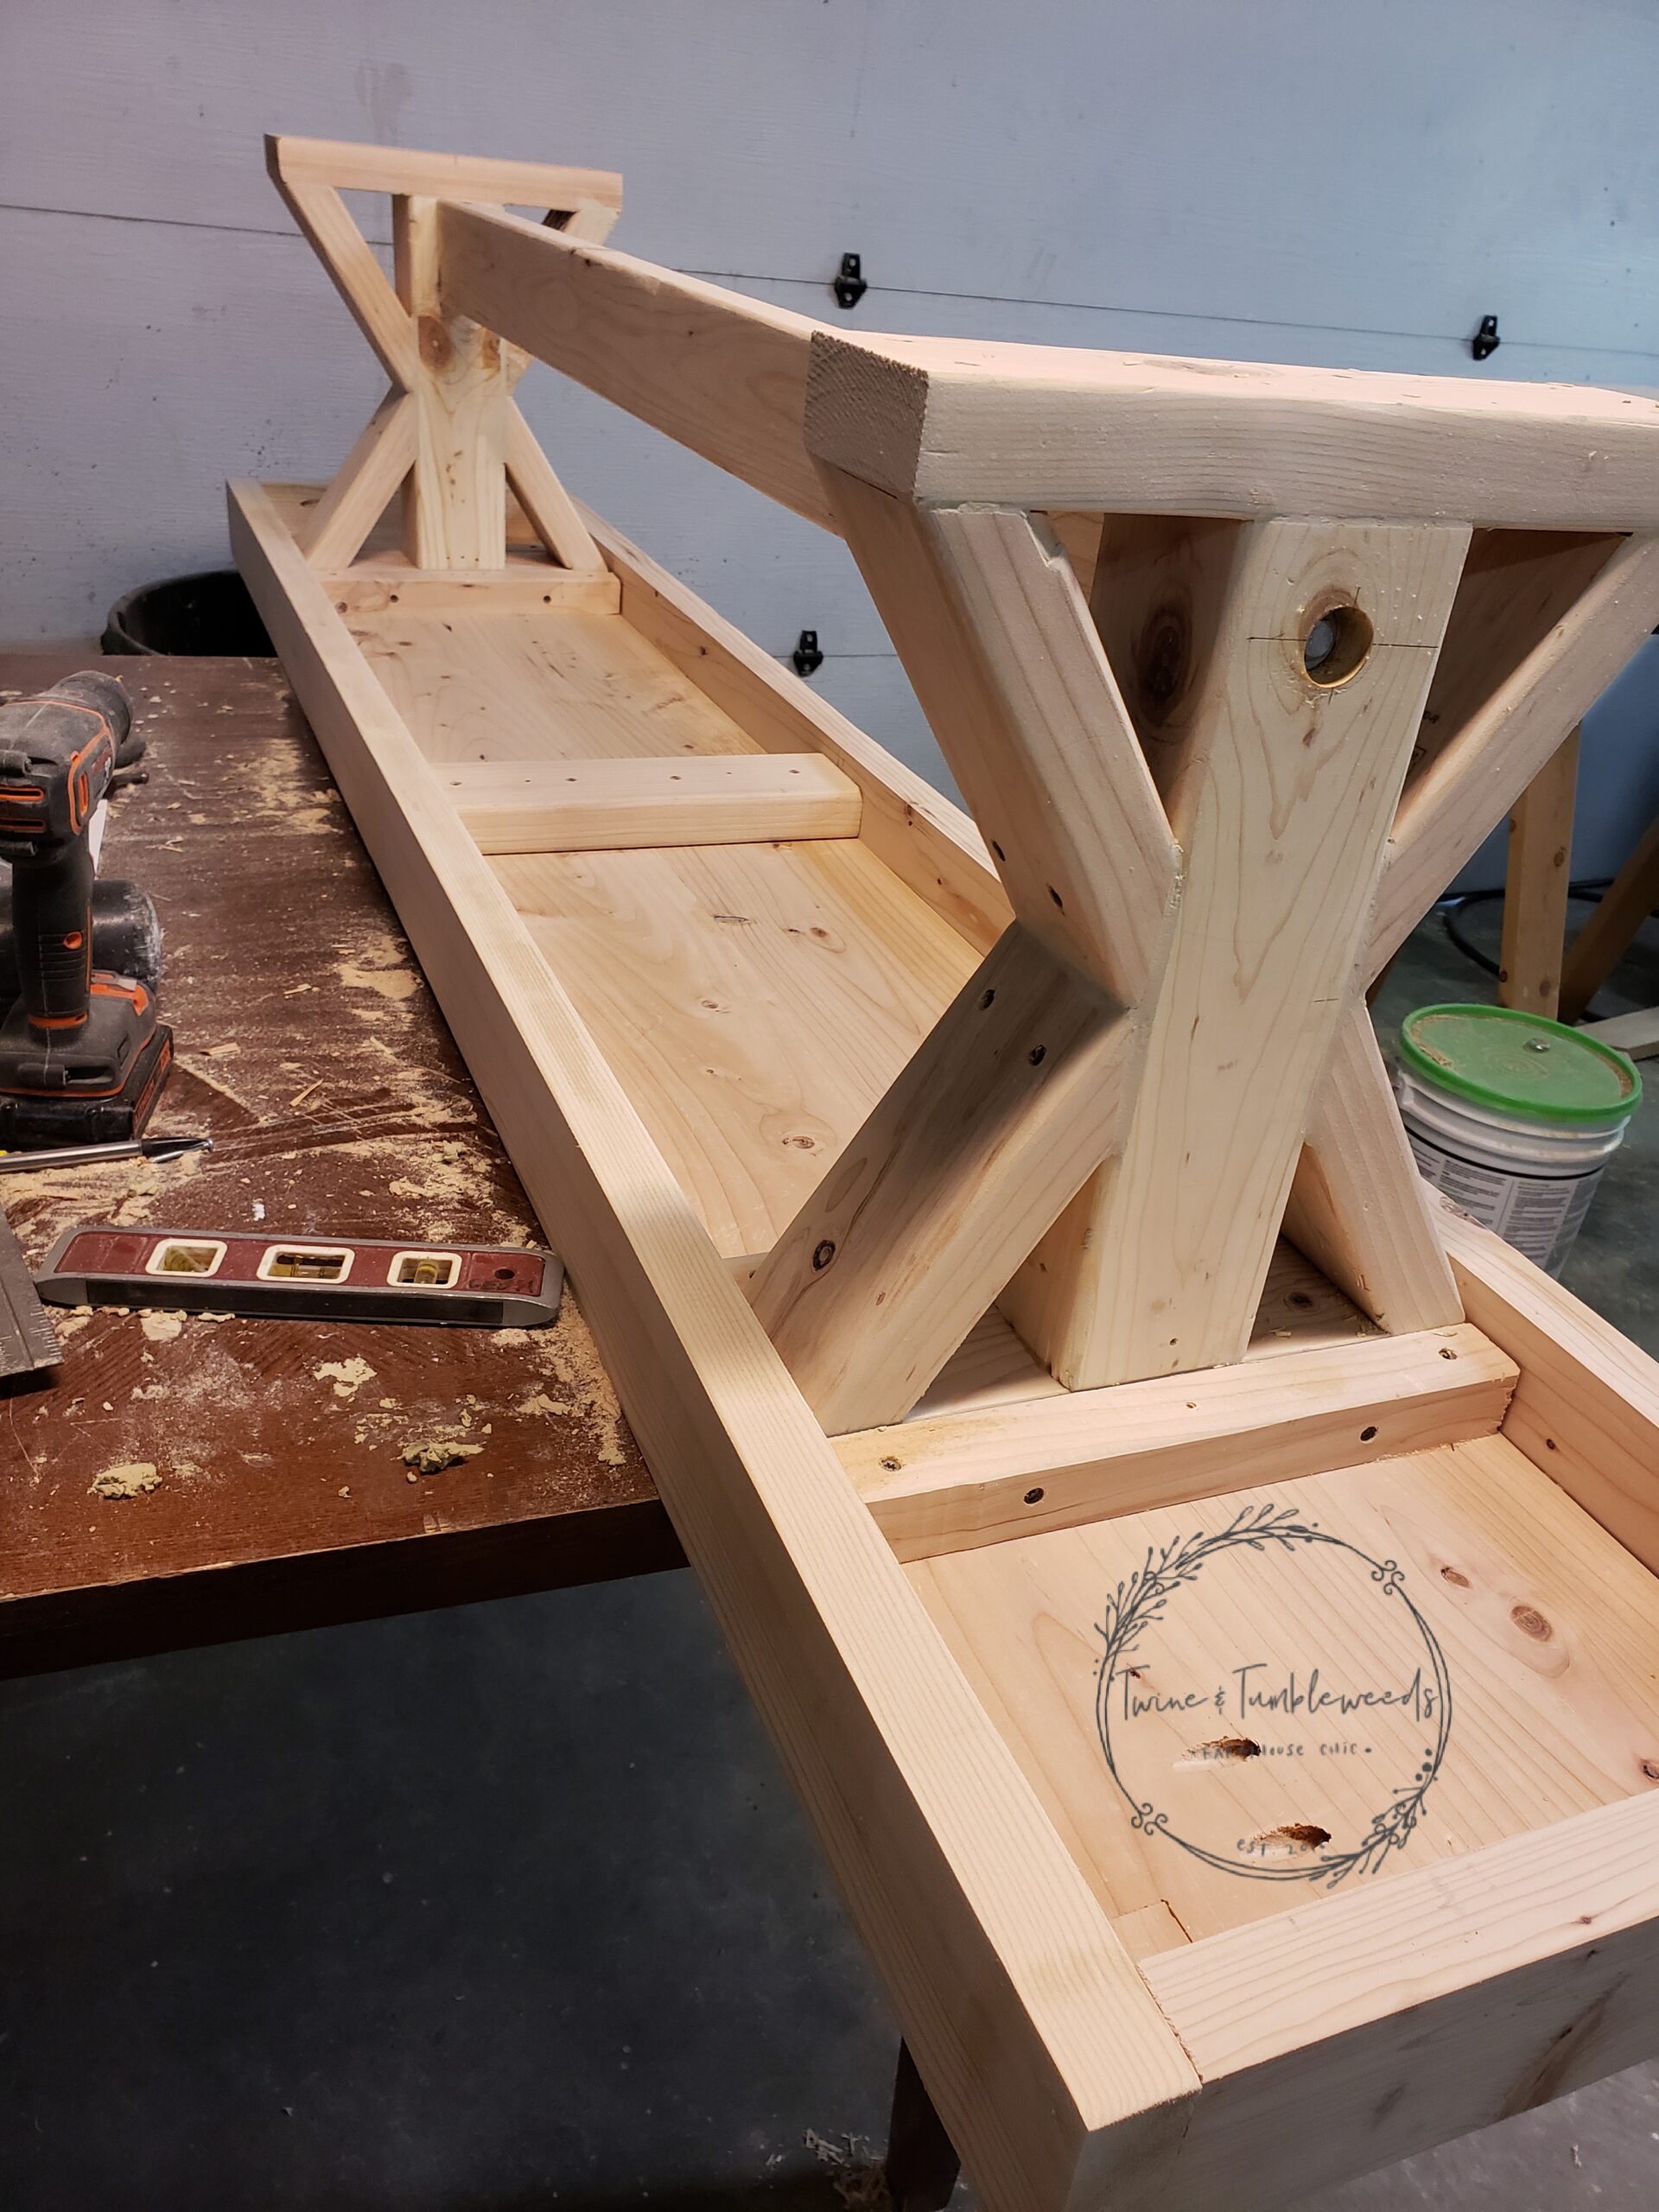
We browsed several different styles of farmhouse tables and our friends selected a few styles they liked, but with slight modifications. They wanted a chunky 4×4 legs, with an X style and a wide style top, all boards in one direction. We would stain the top dark and make the bottom white with distressing. That’s all the Mrs’ to figure out – I like to focus on the building part. I picked up some lumber and supplies to get the job done: 2x4s, 2x10s, and 4x4s Wood Screws Wood glue I would need to use my miter saw, hand planer, drill, Kreg Jig, measuring tape. I don’t have very good photos of the build process. Basically, I made my cuts for the table top, the 2×10’s, and ran them through the planer to get them squared up so they could be kreg jigged
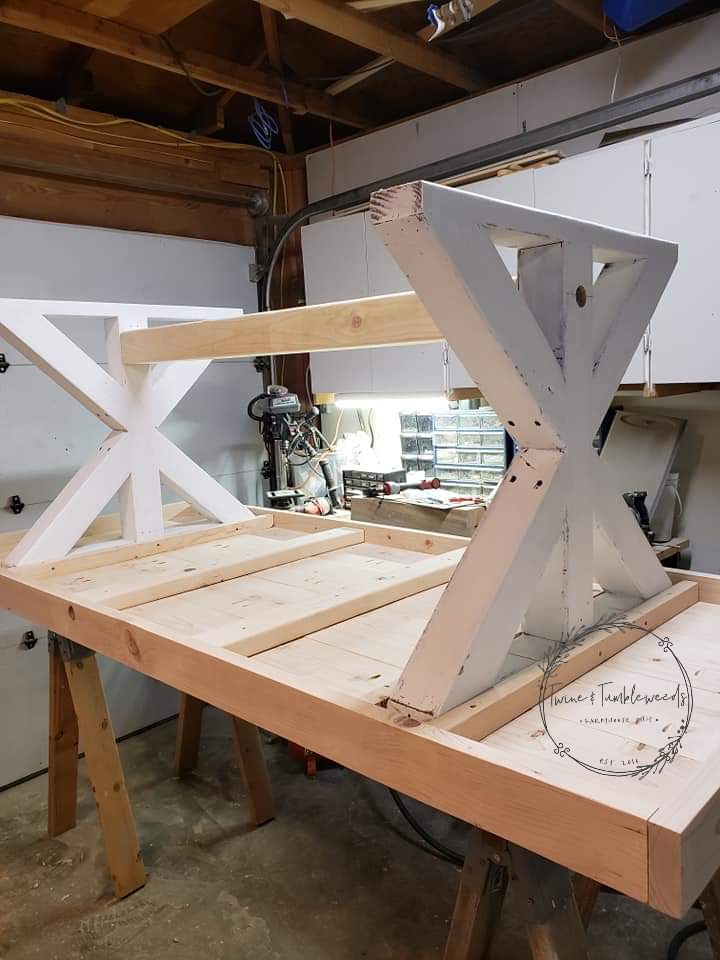
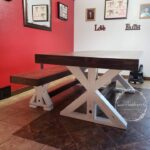
together cleanly. I then put boards along the ends as a boarder for the entire top, and additional supports on the underside where the legs would go. This way, I would not put any screws or bolts into the table top to hold the legs. The table top ended up 7′ in length and 35″ in width. It was quite heavy. Next i put the legs together. Using 4×4’s I cut the x centers to the height I wanted, then cut angles into 4 pieces to join them to the center. You can see in the photo how they look and where I put the screws in to hold them. I ran a 2×4 then along both ends for the top and base of each leg. A long 4×4 piece was then cut for the center support between the two legs. Because this table was 7ft long, we needed to have that additional support. If it was a 4ft table, it would not be necessary. At this point, I took a break from building so Mer could stain and paint the legs. This took her about four days to complete. she used a dark stain for the legs and support and white chalk paint over the top. Once the had two coats on and dry, she used a 120 grit sanding blog to do some distressing here and there. the base was sealed and ready to go. The bottom of the table was also stained dark and had dried fully. We took the legs and attached them to the table top between those supports I had installed (see photo). Once secured, we grabbed one of our boys to help us flip it over. Talk about a very hefty and sturdy table!!! I now moved my attention to building the bench while Mer stained the table top. For the bench, we made it about 6.5 feet. We used the same techniques we used for the table in this build.
Next our friends found a set of chairs that would match perfectly once refinished. I may have mentioned this before…. chairs are NOT Mer’s favorite to refinish.

They always have spindly parts and too much old layered paint. But of course, we wanted everything to look perfect for our dear friends so we jumped right in. Once they were cleaned, we removed the seats and gave both the frames and seats a good thorough sanding. I brought out the paint spray gun for this job while Mer stained the seats the same as the table tops. After a few coats of chalk paint spray they looked great. Mer lightly sanded to make the chalk paint a soft texture and applied Wax on them to seal. We used Water based Poly on the table top(3 coats), bench seat and chair seats to protect them. Once we finished, we very carefully transported them to their new home. The transfer and installation included removing the top of the table from the base due to the size and weight. All went well and our friends love their finished set. Thank you for reading my post and letting me share with you a bit about my\ build. Now off to the next order!

Blessing’s Form Handy Hubs (AJ)