Hey there!
Welcome back to the T&T blog. Today I want to share this gorgeous trunk HandyHubs built for me. Have you seen all the beautiful steam trunk makeovers online? They are so creative and fun – but maybe a little bit too fancy for my space. I was in search of handmade, simple and a nice addition to our home. After looking at several different designs online, I sketched out a simple design and legs for my trunk.
HandyHubs wrote a post on his blog that has all the details of the build. To read more about how he built the trunk, please visit his blog
In this post I will share with you how I painted and finished the trunk. These pictures will guide you through my process. Let’s just say, picking the colors was the easiest part. I was inspired by a dresser that one of my favorite furniture artists, Brandy of Brushed by Brandy did a while back – her attention to detail and blending techniques are top notch. I am a bit of a messier painter and often the process is where I do something, then come back later and realize it’s not quite where I want it to be so I do more.
I started by painting the bottom half of the trunk with Dixie Belle Chalk Paint in Vintage Duck Egg and the top half with Sand Bar. I came back in along the bottom with a mixture of DB Aubergine and Caviar to get the deep blue black I was looking for.
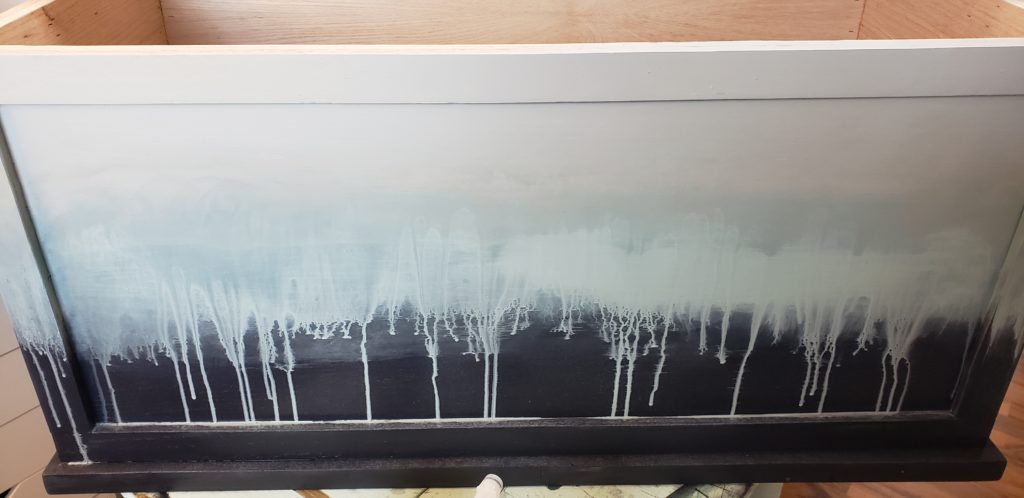
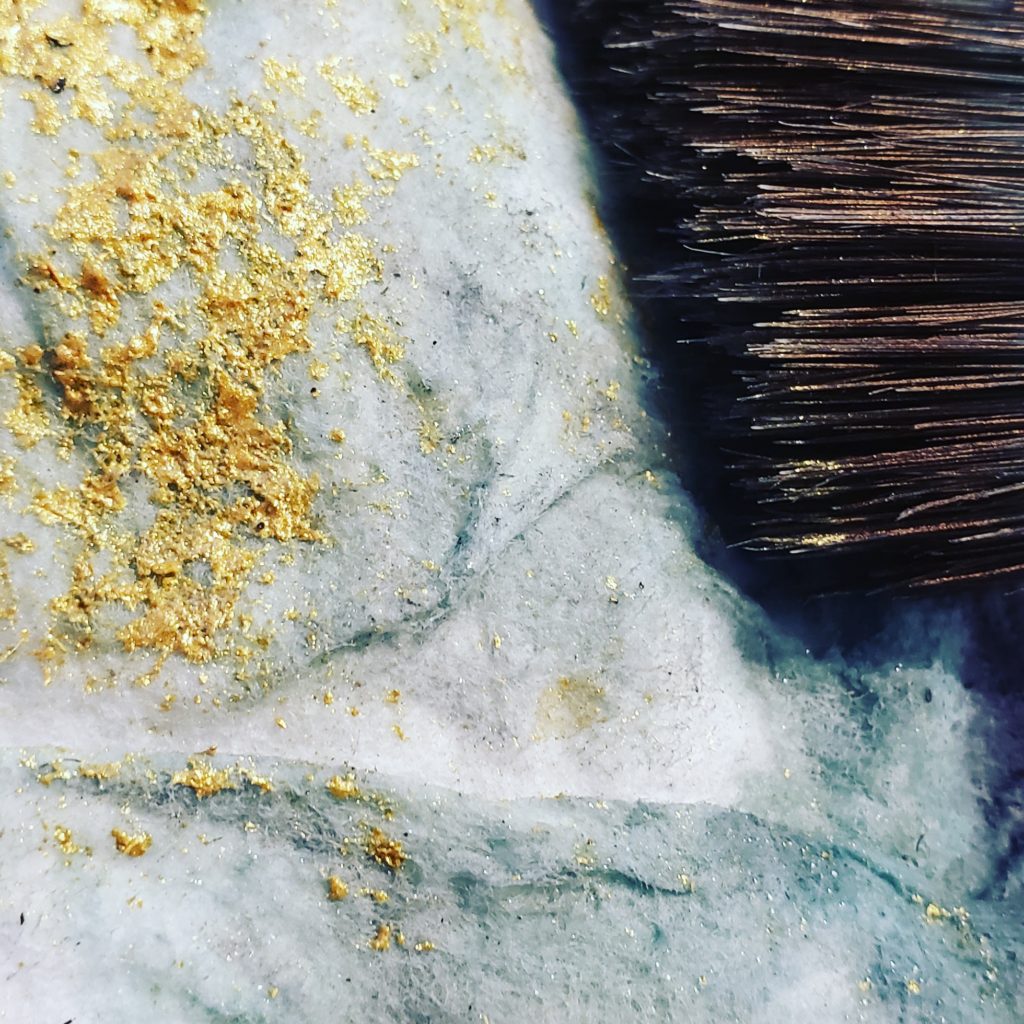
From this photo you can see that I applied more Vintage Duck egg and sprayed it with my water spray bottle to run the color down into the blue-black layer. This is where I will begin blending the edges together and laying the duck egg blue over the darker color to hopefully create some depth and interest. After a few hours of working the paints around and blending them in an out, I decided to take a risk and blend in some of Dixie Belle’s Iron and Copper paint. These are part of the Patina Paint line and I have used them on a few other projects quite successfully. Using the Patina paints and sprays will bring some rusty areas to the trunk and give it an interesting aged look. I am a big fan of patina but I’m also trying on this piece not to overdo it.

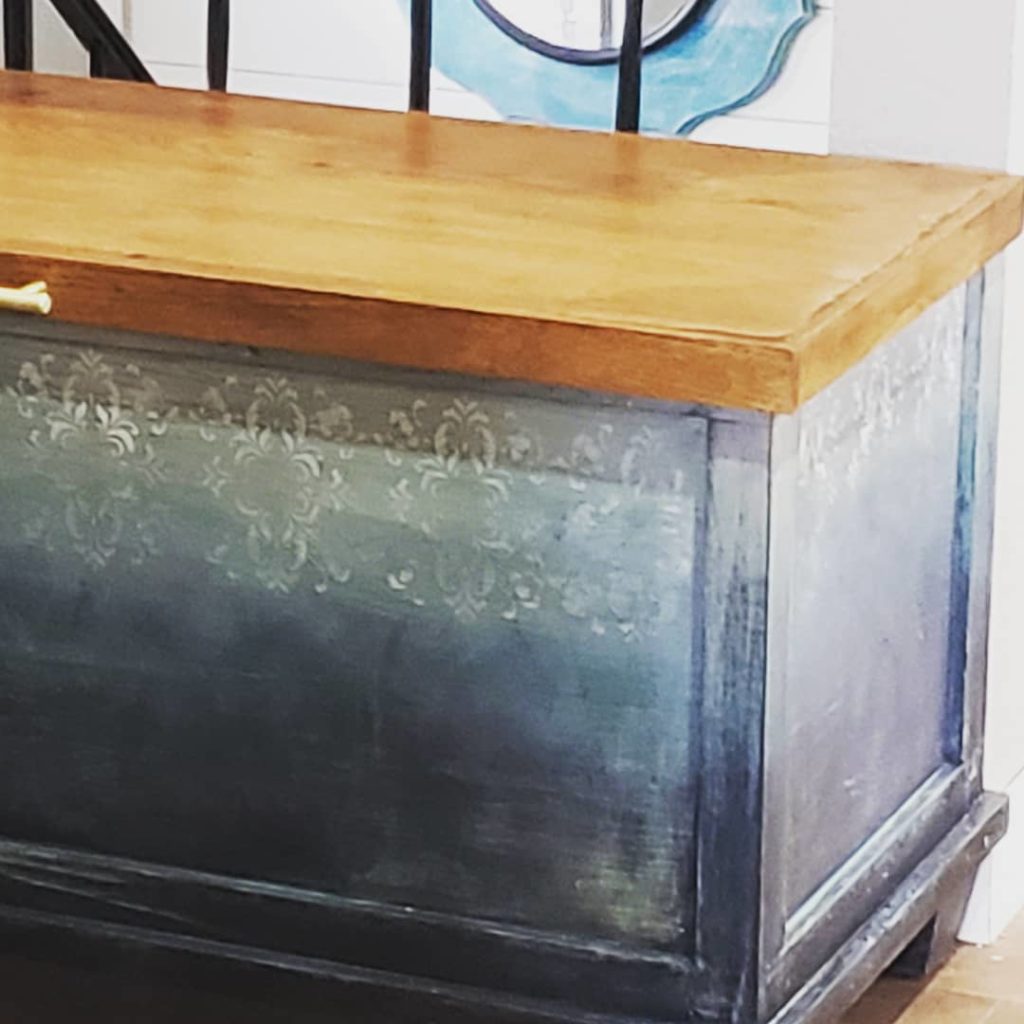
Now that I’ve blended the paint and have the general look, I am going to add some decal work along the lighter top area of the trunk down into the dark – so the decal is fading into the darkness of the bottom. Then I will stain the lid.
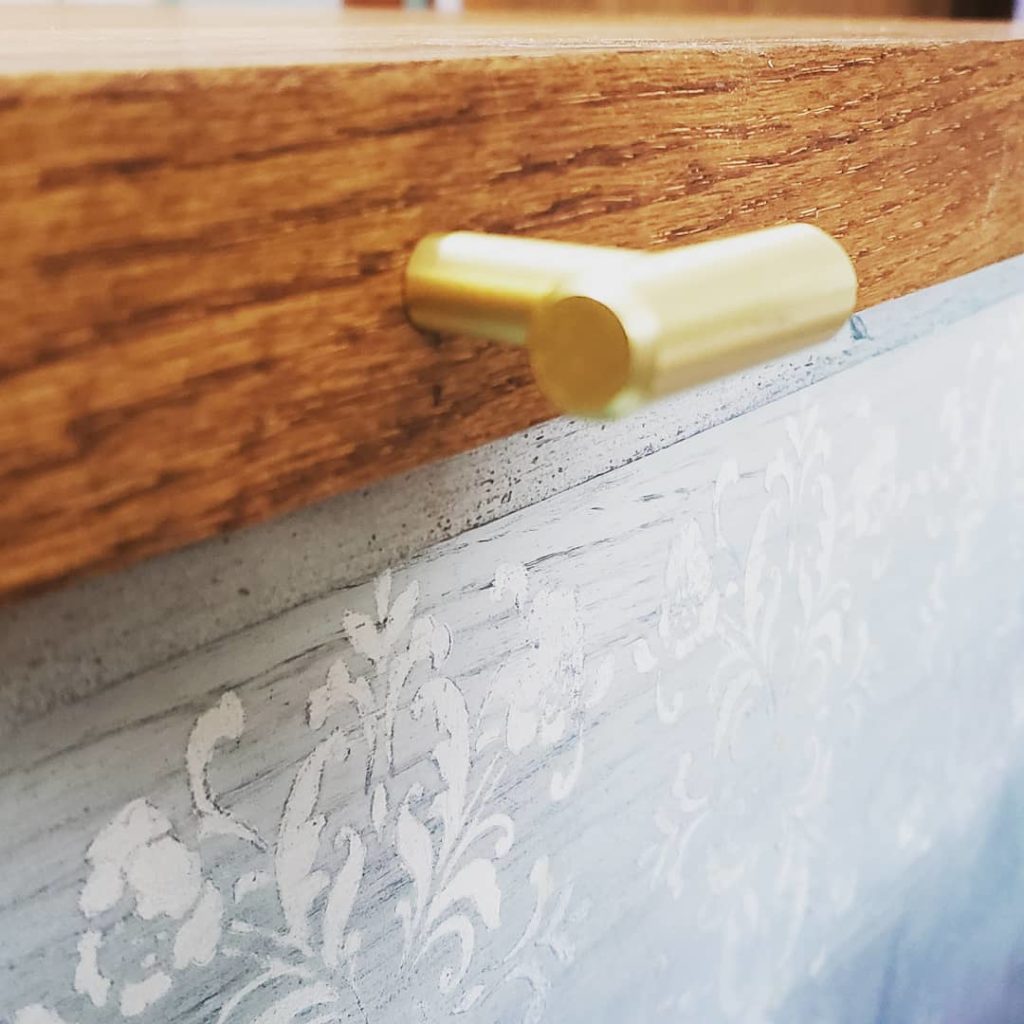
The final step in the process of painting the trunk is to add some gold here and there. I have purchased a gold handle for the lid and I think adding gold around the edges and here and there over the corners and dots of gold in the center of each decal.
A coat of water based poly over the truck will keep it safe and easy to clean.
I love how the trunk turned out. It fits perfectly where we intended it to go and the colors and design fit in nicely with our upstairs living area. We receive so many compliments on it, but best of all these things – I have a space to store extra blankets finally!
Thanks for visiting the blog! Please leave your feedback, questions and comments.